Wednesday, December 15, 2010

PE7_Garageband: Podcast & Blogging


Adding on to my previous blog of working with Garageband, I learned some helpful information about importing and exporting podcast.  Since I will be using the new tips and tricks I learned for Garageband...how do I import these projects to my iWeb CBR page? 


 I've finished a podcast and polished in Garageband, so now what?  The next step is sharing the file with iWeb.  


Garageband and iWeb conveniently transport the audio files back and forth within either program. Once the file is exported, iWeb will route it to either your blog or podcast. This will make it easy to manage existing posts and create new ones.


PE6_Garageband: Mastering


What are the tools you will be using for your Challenge Based Research Project?
Garageband is great for finishing touches and really gives that extra something to a video, podcast, or otherwise simple presentation. For my CBR, I will be 
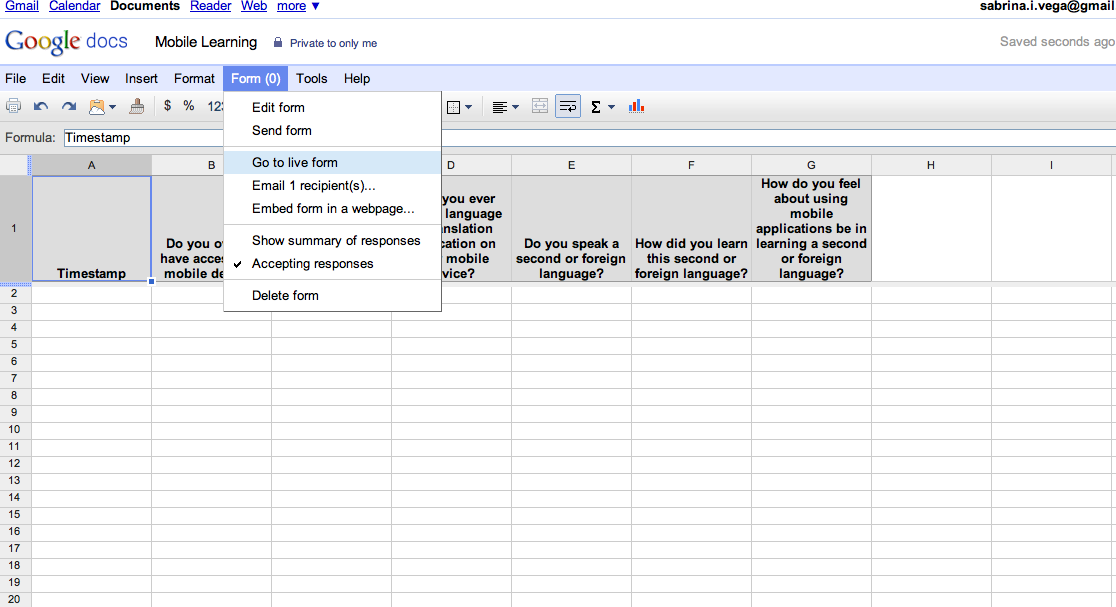
creating content to be accessed from student mobile devices both in and outside the classroom for second and foreign language learning. 

What tools would you like to be more proficient in?
While I have used Garageband before for very basic applications, I had no idea there were so many features available.  A big part of language learning is accomplished through audio, so being able to create and manage audio files, podcasts, even music and videos more quickly and more polished can really ease the creating process. The more tips and tricks I learn, the faster I can create material and more of it.

What tools would you like to implement in your learning or work environment, but have never had the time to learn more about?
I’d like to be able to create my own music and audio for lessons. For example, recording student audio and compiling lessons using their audio samples, podcasts, videos from class.  A concern is sound quality and that's where mastering comes into play. 

The Tool
In Garageband, there is a Master Track section which allows for the user to adjust the compression and bass reduction to ensure the quality of play is increased for many different devices.  Since the quality can vary from the inside of your car, to playing the file on an MP3 player, ipod, iphone... this is an important step I never would have thought about.

Garageband's Mastering Training through Lynda.com
the Master Track tab is on the top right

 There are a variety of pre-sets and built-in tools for Garageband that make this process pretty painless. My favorite tool is the Ducker.  This seems the most practical to me since it is common to want to add music to a presentation that has existing audio.  By ducking, you can change the sound focus and avoid a collision of the different audio clips.

Master Effects Section includes the Ducker Tool

BP12_Final Video


Sunday, December 12, 2010

PE5_Google Forms & Spreadsheets


Tools I expect to be using for my Challenge Based Research Project are:  Google forms and spreadsheets


With regard to this tool I would like to be more proficient in using tools like Google forms to collect and manage data in an easier but also visually pleasing way. For my CBR I am addressing the “mobile learner” and would benefit from using this type of form to collect samples through surveys and can manage the information easily as it is automatically stored as a spreadsheet.  After watching a few videos on Lynda.com I learned some helpful tips and tricks for future use.

start your form and customize your questions and style theme


once you create the form, it will show the data in the excel spreadsheet

once completed, email and share the form

Google Forms is a tool I would  like to try out in my learning environment, but have not had the opportunity or time to incorporate it just yet. I created a small practice survey to get things started and try out what I learned from Lynda.com.  

Here's my starter google form


PE4_Google Docs: Formatting


Tools I expect to be using for my Challenge Based Research Project are:  Google docs


With regard to this tool I would like to be more proficient in formatting documents & sharing information for collaboration and editing.  For the Literature Review drafts that we shared with our groups, I discovered I had a lot to learn about how to effectively use this tool. After watching a few videos on Lynda.com I learned some helpful tips and tricks for future use.


Google Docs is a tool I would  like to try out in my learning environment, but have not had the opportunity or time to incorporate it just yet. This would be a great way for student to peer review, share feedback and progress on assignments and just to exchange contact information.


BP11_OMM_Quizlet


BP10_link to my comment on Matthew Park blog

Click here to view my comment on Matthew Park blog

BP9_link to my comment on Jenney Grover’s blog

Click here to view my comment on Jenney Grover’s blog on Busuu

BP_8 Quizlet


Hello and welcome back! 

The Web 2.0 tool I discovered this week is called Quizlet.  There are plenty of features to choose from, but the highlighted benefits would have be ease of use, portability and the ability to personalize the application.  Quizlet is a web-based tool that offers a user-friendly platform to create flashcards for in and outside of the classroom.  This mobile application is available for mobile devices such at the iPhone or iPod Touch, Android, Palm webOS, and Windows Phone.  This is great news.  This means the content I create in the classroom, potentially, can be accessed from anywhere, by anyone with a Smartphone.  Awesome.


Another attractive feature for this tool is the budding possibility of increased student engagement through the highly social participant based set-up and the implications for users to also contribute to creating content.  Since this tool (like many others) thrives on the user to get the most out of it, there are a number of ways this tool can be featured in the classroom.  My interest particularly lies in second and foreign language learning, so adding tools like this seems like the perfect marriage of traditional language learning and modern delivery. 

Speaking of language learning…it just so happens that the featured teacher for this tool was a French teacher from Oklahoma.  Madam Thomas had been documenting her implementation of this tool in the classroom over a period of time and has reported exciting results.  The students’ participation increased along with an overall improvement of understanding and applying gender, verb conjugation, articles and agreement, subject pronouns and demonstrated faster identification and representation of images. My personal favorite improvement from Madame Thomas’ class was that of increased confidence.  This is a big part of being able to use a new language, so the social collaboration and support generated from using this tool is really exciting.  I can’t wait to test drive it in the classroom!  

Until next time, every good wish.  Sabrina


Sunday, December 5, 2010

PE_3 Bringing Images to Life

After watching iMovie Tutorials on Lynda.com, here is what I learned about using stills, adding images, and how to make your photos move...

PE_2 Audio Adjustments

After watching iMovie Tutorials on Lynda.com, here is what I learned about Audio Adjustments...

PE_1 iMovie Transitions

After watching iMovie Tutorials on Lynda.com, here is what I learned about Transitions...

BP_7 60 Second Commercial

Here is my 60 Second Spot for the Web 2.0 Tool I am exploring...Mental Case. 
Enjoy! 

BP_6 Comments

Follow this link to my comments on Jennifer's blog page

BP_5 Comments

Follow this  link to my comments on Jenney's blog page

BP_4 DoInk


BP_4 DoInk
Hello and welcome to my fourth blog!  Here I explore and review a new Web 2.0 tool to assist in language learning for students on the go.   The tool I chose to learn more about is called DoInk.  This interactive tool promotes creativity, community, and sharing.This is attractive as it is something you can access from your smartphone so you can create on the spot or sit down and take your time at your home computer.


DoInk is really fun to use, in fact, I couldn’t stop laughing the entire time I was using it! Students can create their own story lines and make short animations by drawing their own images with the drawing tool or using “props” from a gallery, also known as the Bazaar. This tool has a free trial and user-generated content and social participation can be published to major networks like YouTube and Facebook.


Key features like the drawing tool or the library of pre-made images allow students to invest their own creativity to share an idea.  This will be really fun to include as an option for an assignment for my ESL students.  They can access this tool from their mobile devices when they have a moment of inspiration.  Once they create their picture story, they can share it with classmates by uploading it to Facebook or YouTube.  To test of the ease of use for this tool, I created a very short animation of my own.  Regardless of user talent, there is something for everyone.  I am not an artist, but am definitely creative or at least had fun trying to be. I chose to freehand a character called Domingo Pepino.  I found inspiration from the name I used when I was learning Spanish when I was in school. Oddly enough, the name translates to “Sunday Cucumber” but it was so much fun to say during presentations or even to write on exams.  I’ve included a sample of my character introducing himself…”Hola me llamo Domingo Pepino”.


This will be a fun way to encourage peer-to-peer feedback, creative expression, and to have fun while learning a new language.  By spending time thinking about the story behind the picture, students will be able to apply a visual association to learning new words or phrases in a fun, practical and interactive way.   You can “Like” the DoInk community and stay connected to your friends and classmates’ creations. Go to http://www.doink.com and have some fun!  Until next time, every good wish.